Making sourdough starter had been on my summer-to-do-lists for years, ever since I clipped a recipe for it out of a Sunday morning newspaper insert.
There the recipe sat, on the floor next to my nightstand, with a pile of other papers that I either needed to file or do something with.
Why did I put off making the starter? I don’t know.
Why do we put off doing anything?
I’ve heard that most of what motivates us is either the emotion of love or fear.
I don’t think it was love, so I suppose it was fear. But fear of what? Fear of finding the right container? That sounds pretty lame, doesn’t it?
Perhaps so, but initially I used the excuse that I needed to find a suitable container.
I set about collecting jars and bottles of various sizes looking for the perfect home for my sourdough starter.
I feared if I picked too small, my starter would grow so big that it would burst its container (sounds silly, I know, but I read somewhere that someone’s starter had expanded to the point of breaking their glass jar).
They probably expected that would happen, meaning it was a self-fulling prophecy.
The Fear of Making Sourdough Starter
Sourdough starter does expand and needs sufficient head space for growth, but I hope my excuse for delaying this project wasn’t due to the fear of “The Blob” overrunning my kitchen, or not having a proper jar!
I prefer to think of it as procrastination. But if you think of what procrastination means, in the sense that we put off something we need to do that causes us anxiety, like doing our taxes for example, that basically returns us to fear.
But let’s save that for a conversation over a cup of tea. Let’s move on.
So what finally motivated me to make my sourdough starter?
My daughters’ muzzle-loading instructor brought a loaf of freshly baked sourdough bread to practice one Sunday.
I tasted a piece of his bread and decided it was time to get moving.
Let’s Make Sourdough Starter
Day 1
You don’t need a special jar, container, or crock to make your sourdough starter.
I used a small glass mixing bowl, but stainless steel, earthenware, or food-grade plastic will work as well.
If you have a wide-mouth quart-sized canning jar in your cupboard, that’s perfect!
I buy flour in bulk and had whole wheat flour on hand.
That’s what I used to start, but plain white flour is fine, just be sure not to use self-rising, or flour with any additives.
Here’s what I did:
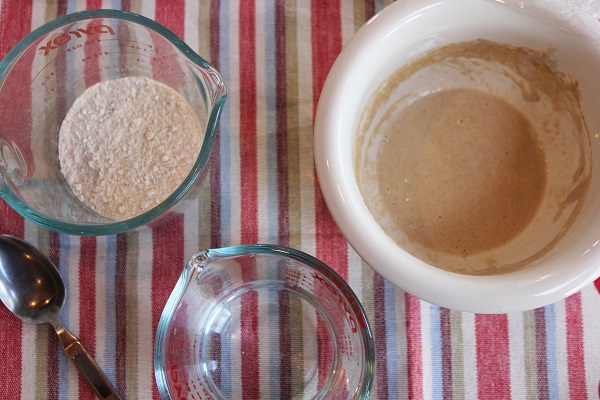
I mixed 1 cup of flour with 1/2 cup of lukewarm water.
Use spring water, as tap water has too many additives.
I warmed the water in the microwave for 30 seconds so it would be tepid.

Sour Dough Starter: what you will need – whole wheat flour, water, and container.
I combined the flour and water.

Combine flour and water
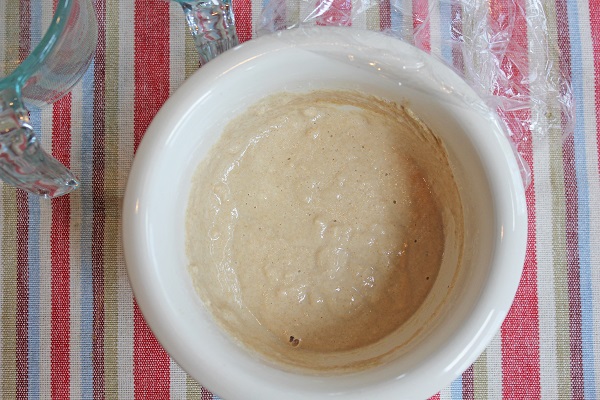
And stirred it to a smooth consistency. I used a stainless steel spoon, but some prefer wooden utensils for blending.

Mix thoroughly.
I loosely covered the mixture with Cling Wrap.

Cover loosely.
My house tends to be on the cool side, it would not stay between 65 and 70 degrees F, so I opted to put the starter on top of the water heater so as to provide a constant source of ambient heat for 24 hours.
Note: If your house is cool, other heat source options may be the top of your refrigerator, near a baseboard heater, on top of a heating pad set to low, etc.
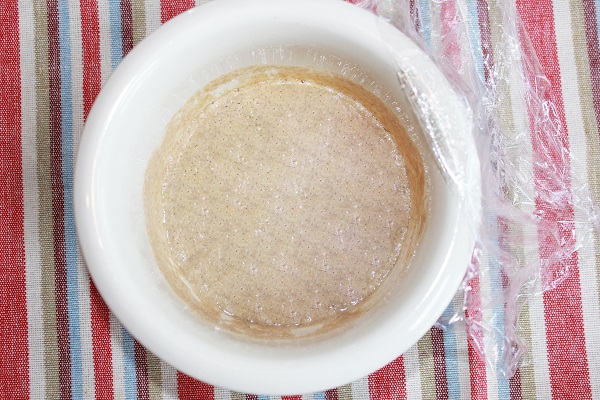
(The color of the starter looks a little different here; it’s because I took the photograph in the laundry room with poor lighting.)

Let set in a warm place.
Day 2
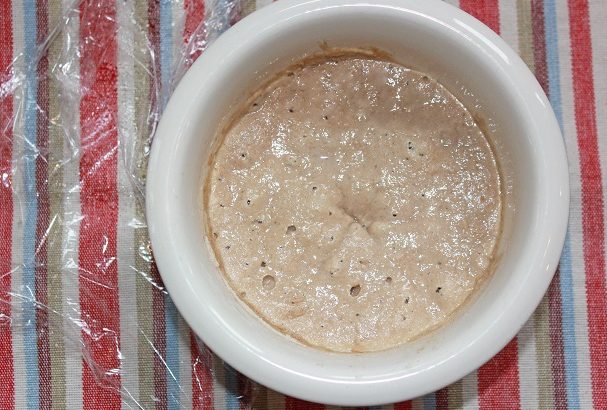
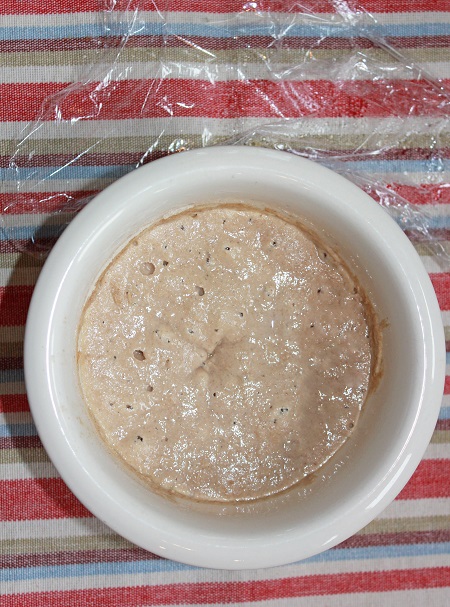
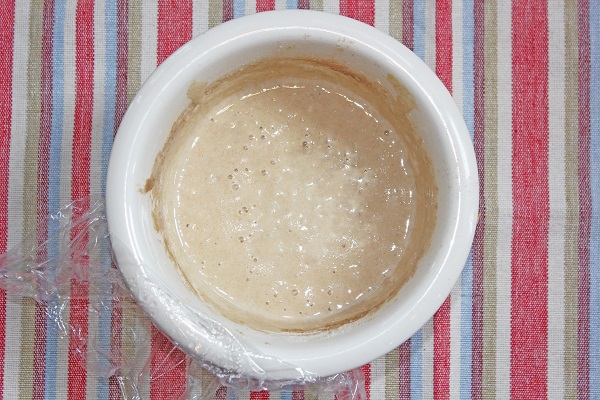
After the 24 hours were up, I was very excited to see some action (it was frothy) taking place in my starter.
Without any commercial yeast, the bacteria in my home were growing naturally in my starter! I
It was amazing, like a fun science experiment. I was on my way to sourdough.
If you don’t see anything at this stage, don’t worry.
It’s normal for nothing to have happened by this point.
Sour dough starter after 24 hours.
I removed 4 ounces of the starter.
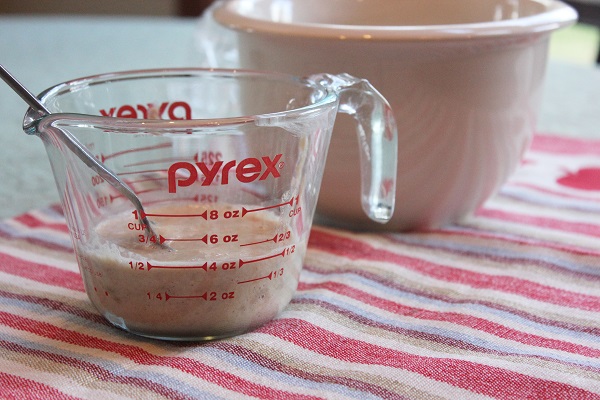
As I spooned off the top, I found liquid underneath.
Nothing to be concerned with, I continued to remove the mixture until I had a 1/2 cup of discard.
Some people throw their discard away, but I hate to waste, and used it to make sourdough pancakes.
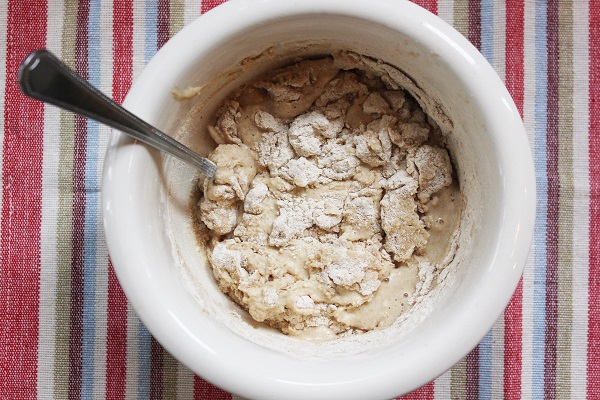
To the remaining starter in the bowl, I added 3/4 cup whole wheat flour and a 1/2 cup lukewarm spring water.
Then, I stirred it to a smooth consistency and returned it to the top of the water heater.
Day 3
The starter was looking good and I repeated the steps I took on Day 2.
Day 4
By day 4, I had been feeding my starter daily and was making good progress.
However, there was a problem. The family and I would be going out-of-town to a black powder shoot and I would not be able to feed the starter on day 5.
I needed approximately 5 days for a good start.
I left it covered on top of the water heater and left for the weekend hoping that all of my efforts had not been for naught.
When I returned a day and a half later, I fed the starter and it was fine.
It was now full-bodied, bubbly, and ready for use in sourdough bread recipes.
Not wanting to feed my starter daily, (this requires a lot of flour) I refrigerated it and began weekly feedings.
_________________________
Since I’ve made my starter, my daughter’s muzzleloading instructor gave her a jar of his sourdough starter.
It’s made with pineapple juice, instead of water, and has a delightful flavor which I think is superior.
It’s become our preferred starter for use in our sourdough baked goods.
_________________________
Pulling it all Together
Don’t put off making a sourdough starter because of fretting over a container.
You don’t need a special container to get started. A wide-mouth quart-sized canning jar works well.
Your starter will need a warm place, and you will need to feed it regularly to encourage bacterial growth.
Sourdough starter has many pros. You always have the beginnings of delicious bread and baked goods.
However, it does have one con that I think is worth mentioning.
It requires regular feeding.
Regular feeding means refreshing it daily unless you refrigerate it and add flour once or twice a week.
You may find yourself using more flour than you have been accustomed to.
Remember, if you do get started and then stop feeding for an extended period of time, your sourdough will lose its freshness, and must be discarded.
I’ve read that there are many ways to achieve a good sourdough starter and that no two are the same.
I am happy with my success and delighted that I can check this project off of my summer-to-do-list.
Here are two sites that I recommend to help you get started on your bread making journeys:
Sourdough Starter Recipe
You don’t need a special container to get started. A wide-mouth quart-sized canning jar works well. Your starter will need a warm place, and you will need to feed it regularly to encourage bacterial growth. Your starter will develop over a period of 5 days.
- 1 Cup Flour (Whole Wheat or White may be used. However, do not use self-rising or any flour with additives.)
- 1/2 Cup Lukewarm Water (Spring water only. Do not use tap water. It has additives. Warm in microwave for 30 seconds to make it tepid.)
- Mix flour and water and stir until smooth. A wooden spoon is preferable. Cover your starter container loosely with plastic wrap. Set in a warm spot, one that will have a constant ambient temperature of 65 to 70 degrees F.
- After 24 hours, remove 4 ounces of the starter. You may discard or use in a recipe, such as sourdough pancakes.
- Add 3/4 cup flour and 1/2 cup lukewarm spring water.
- Stir to combine, cover with plastic wrap, and return to a warm spot.
- Continue to follow steps 2, 3, and 4 for the next 2 to 3 days (for a total of 5 days) until your sourdough is frothy.
Once the sourdough mixture is bubbly and full-bodied, it is ready for use in baked goods. Continue with regular feedings daily; weekly if sourdough is refrigerated. If regular feedings are discontinued, sourdough will spoil and must be discarded.